

Reading this week:
- The Uttermost Part of the Earth by E. Lucas Bridges
Back when we visited Shetland Wool Week, one of the things we really wanted to do was go to a natural dyeing class. I have a whole degree in chemistry so that sort of thing of course interests me. Unfortunately we were thwarted by the overwhelming popularity of Wool Week and so couldn’t do it there. But why go all the way to Shetland when you can do something at home? The answer to that is Shetland is beautiful but that is not the point.
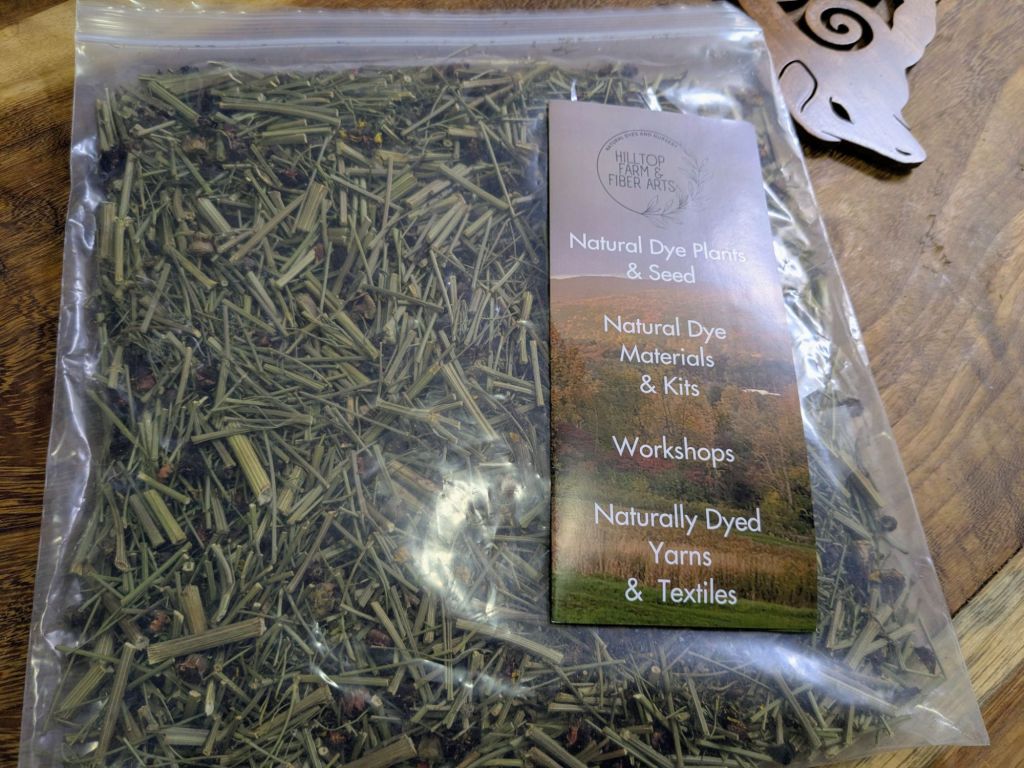
We had managed to pick up a natural dye kit from Hilltop Farm and Fiber Arts while we were up in their neck of the woods. These kits contain pretty much everything you need to try out some natural dyeing. It comes with a skein of yarn, ready to be dyed, mordant, the dye stuff (in our case a bunch of marigold bits), and some safety items like a mask and gloves. All in all pretty comprehensive.

The caveats in the above paragraph, “pretty much” everything you need and “pretty” comprehensive are because the thing we lacked was a big ole’ pot. You should keep your dye equipment separate from your cooking equipment, and while we have a fair-sized pot we didn’t actually have a BIG pot, so the hardest part of this whole adventure was going out and sourcing a hefty stainless steel cauldron in which to do our chemistry adventures. But we felt it was worth the investment, even if we couldn’t use it to make the overwhelming amount of spaghetti of my dreams, because we hope to do more dyeing in the future now that we are experts courtesy of this kit.

Anyways! Although we were willing to invest in a pot we were only willing to invest in the one pot, so we had to do everything in series instead of doing some things in parallel. Turns out the process of natural dyeing is heating water up to 180F or so and keeping it there for an hour, and doing that multiple times. The first time around was to put the mordant on the yarn. In our case it was aluminum sulfate, and the kit came with a pre-measured pack. So you just had to dump it in water, let it dissolve, heat the whole thing up to temperature, and put in the yarn. The trickiest part was keeping it at the right temperature, as you don’t want it to boil lest that felt the yarn and ruin it (ruin it for knitting purposes anyway).
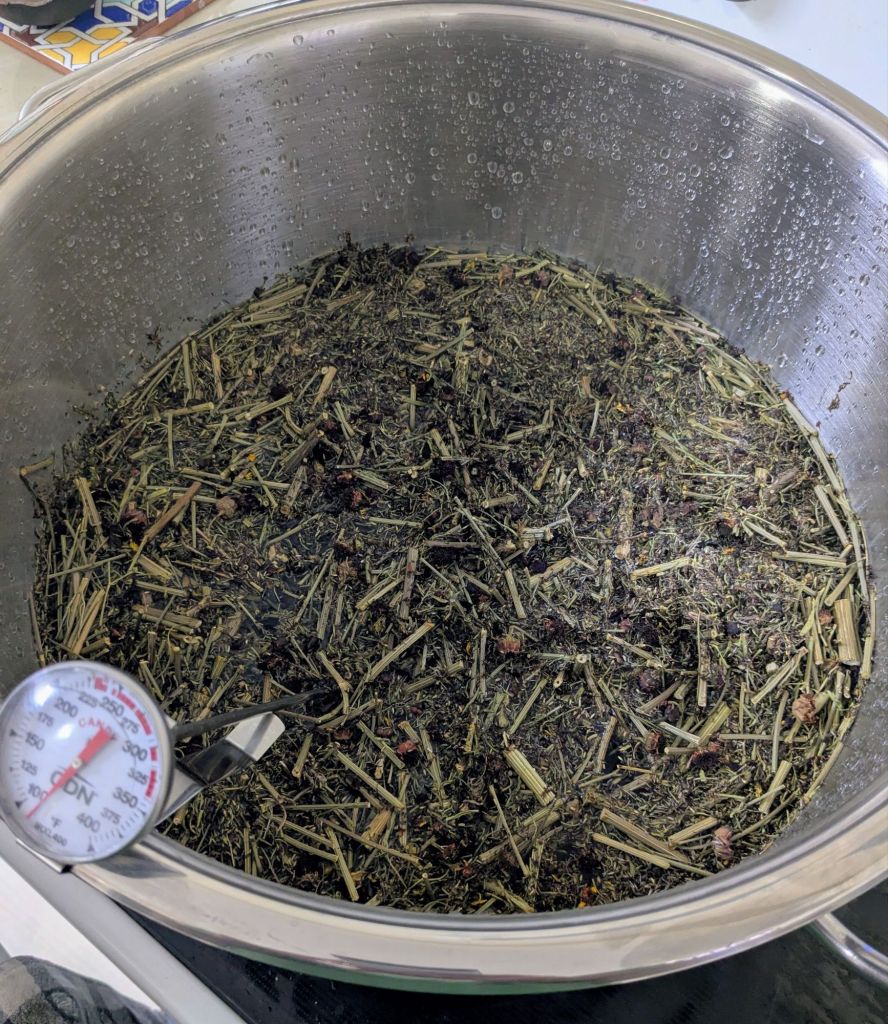
With that out of the way, next was to make the dye itself. This was very similar to making a pot of tea, because it’s pretty much the same thing. We had dumped out the remaining mordant mix, filled the pot up again, added all the marigold bits, and then of course we just had to keep it at 180F again for an hour or so. I notice now, perusing Hilltop’s website, that they sell dye bags, which would have been handy. We were making this pot loose-leaf style, which was well and good but made it rather difficult to filter out all the marigold bits once we were done with them. For us this involved an additional bucket or two. We got there in the end but an oversized tea (dye) bag would have made our lives much easier.
Then the real exciting part! Now that we had dye, we just had to add back in the yarn and yes of course then keep it at 180F for an hour (photo at the top). If our dye to yarn ratio had been closer, the yarn would have sucked out all the dye out of the liquid which would have been cool to see, but we had made a very strong tea. So the water was still very brown when we extracted our new golden yarn, but that’s fine, we had a beautiful yarn. The next step did not involved any temperature control, but just letting the yarn cure for two weeks (aka let it hang up and stay dry) and then give it a regular wash. And we had natural-dyed yarn, extremely cool! My super amazing wife isn’t quite sure yet what she’ll make with it but it is exciting to know that we had an intimate hand in making the yarn ready for use:


You must be logged in to post a comment.